[Electronics] DIY Mini Fume Extractor
See how I made a small dekstop fume extractor for my soldering projects.
I hope everyone’s staying safe and healthy! With COVID-19 going around I’ve been at home a lot more than I’m used to and I’m trying to make the most of it. This week I organised a ton of stuff, swapped out my reading area by the window with my tinkering workbench, and made a compact desktop fume extractor for soldering. Here’s to no more smoke and flux fumes getting right up in my face!
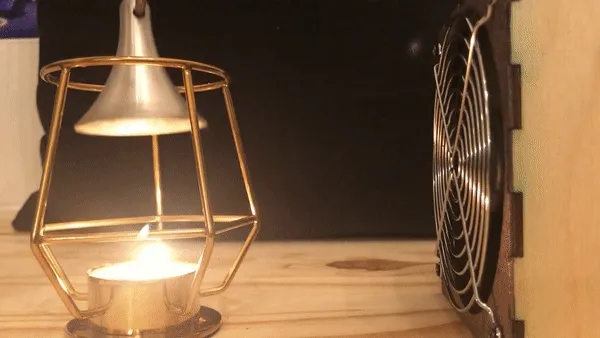
Here’s a demonstration where you can see the fume extractor sucking up smoke from a candle:
Fume extractors are commercially available, but why not make a project out of it? I repurposed several items that I had around the house including two spare cooling fans from a PC build I did years ago, some carbon filter sheets meant for my home air purifier, and a bottle of old nail polish. And I learned how to apply wood varnish!
In this post I’ll be sharing how I made my fume extractor. It won’t be so much of a tutorial as it is a walkthrough of my process and thoughts in making it, but I think it would be enough information to get you started if you want to make your own. I’ve included links at the bottom of this post to resources that I found helpful as well as specific parts, materials, and tools I used.
I: Getting Started – Parts & Components
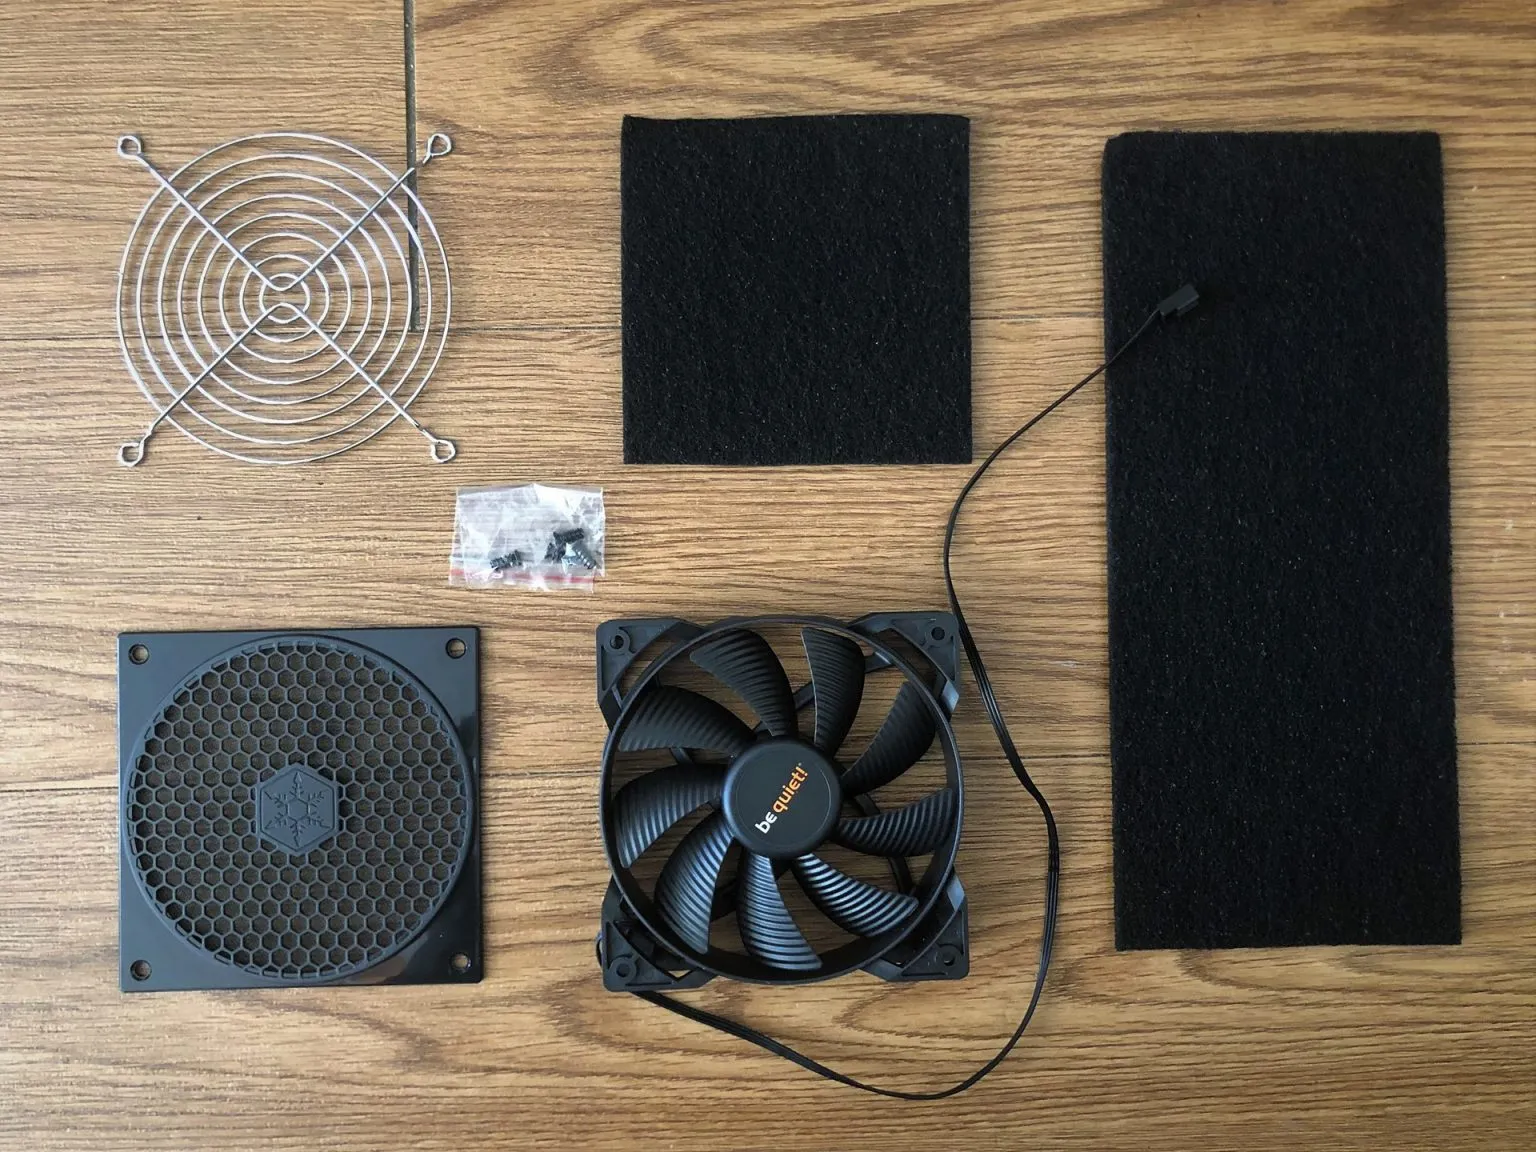
The two fans I had were both be quiet! Pure Wings 2 120mm PC cooling fans. You’ll see below that I only have one fan pictured, but I did end up using two fans in series to boost the air pressure against the filter sheet since I noticed that the filter sheet was restricting airflow. And because of that, although I was planning on using both grills shown below I ultimately went with just the metal one.
Fan specs as stated on the packaging for the curious:
| Fan dimensions (mm) | 120 x 120 x 25 |
|---|---|
| Voltage range (V DC) | 5-12 |
| Fan speed (rpm) | 1500 |
| Airflow (cfm) | 51.4 |
| Air pressure (mm/H2O) | 1.25 |
| Input power (W) | 1.08 |
| Input current (A) | 0.09 |
Something I wondered about: Although it seems that placing the fans in series does not increase airflow (cfm) through the unit but rather increases air pressure against the filter sheet, could I get even better performance against static pressure by spacing out the fans or was I right to stack them? I really don’t understand enough about airflow fundamentals to know for sure.
Each fan had a three-wire cable ending with a female molex connector. For my be quiet! fans, these were the wirings:
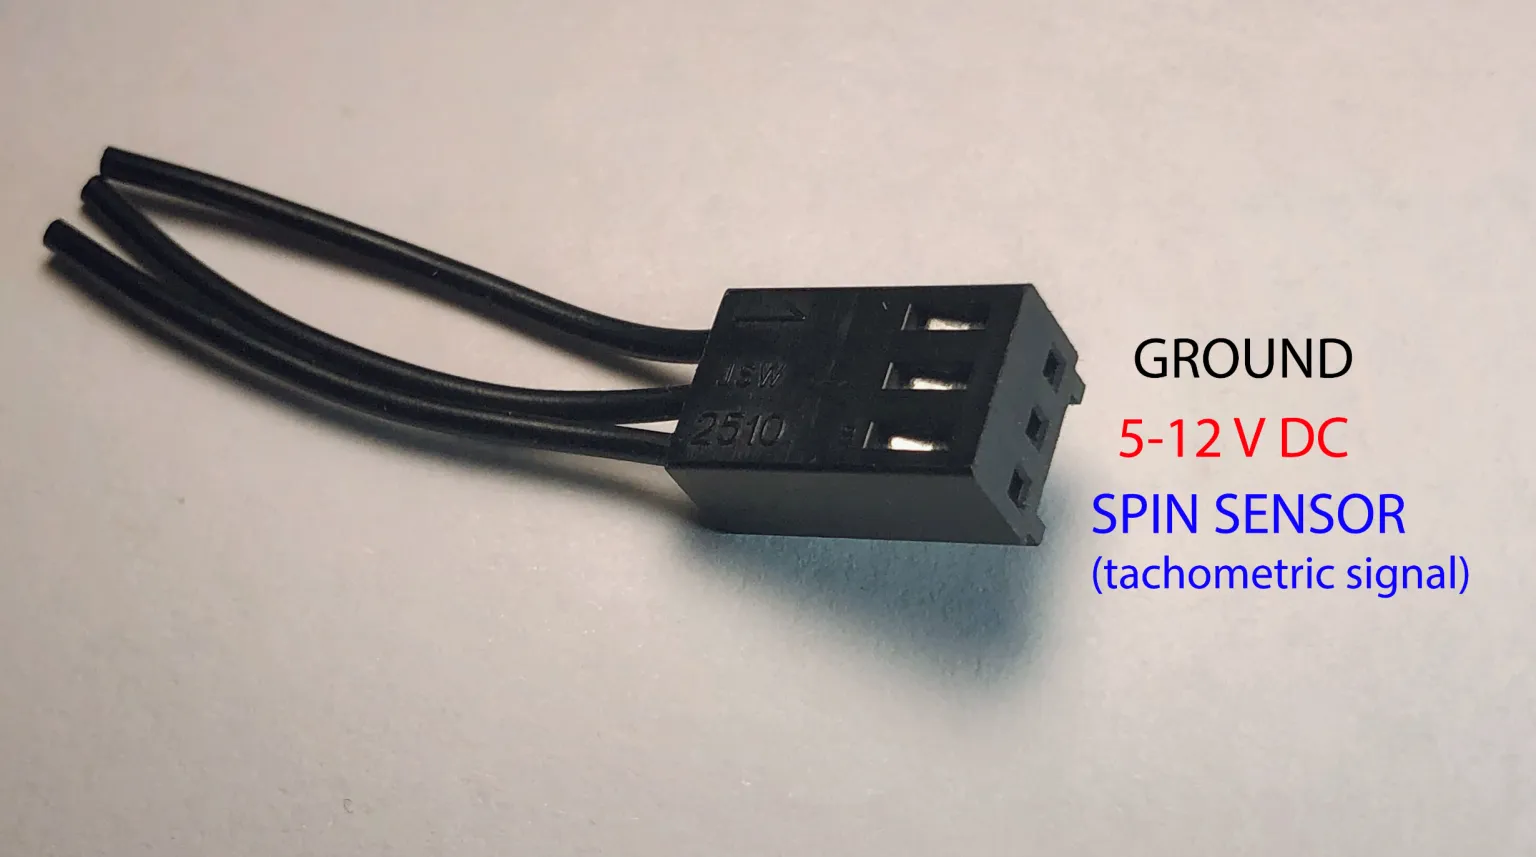
This wire layout is pretty standard for the three-pin female molex connector on a PC fan. Some PC fans will only have two wires and others may have four. The fans with two wires just have +12V and GND (ground), whereas the fans with four wires have +12V and GND as well as +5V and GND for better fan control.
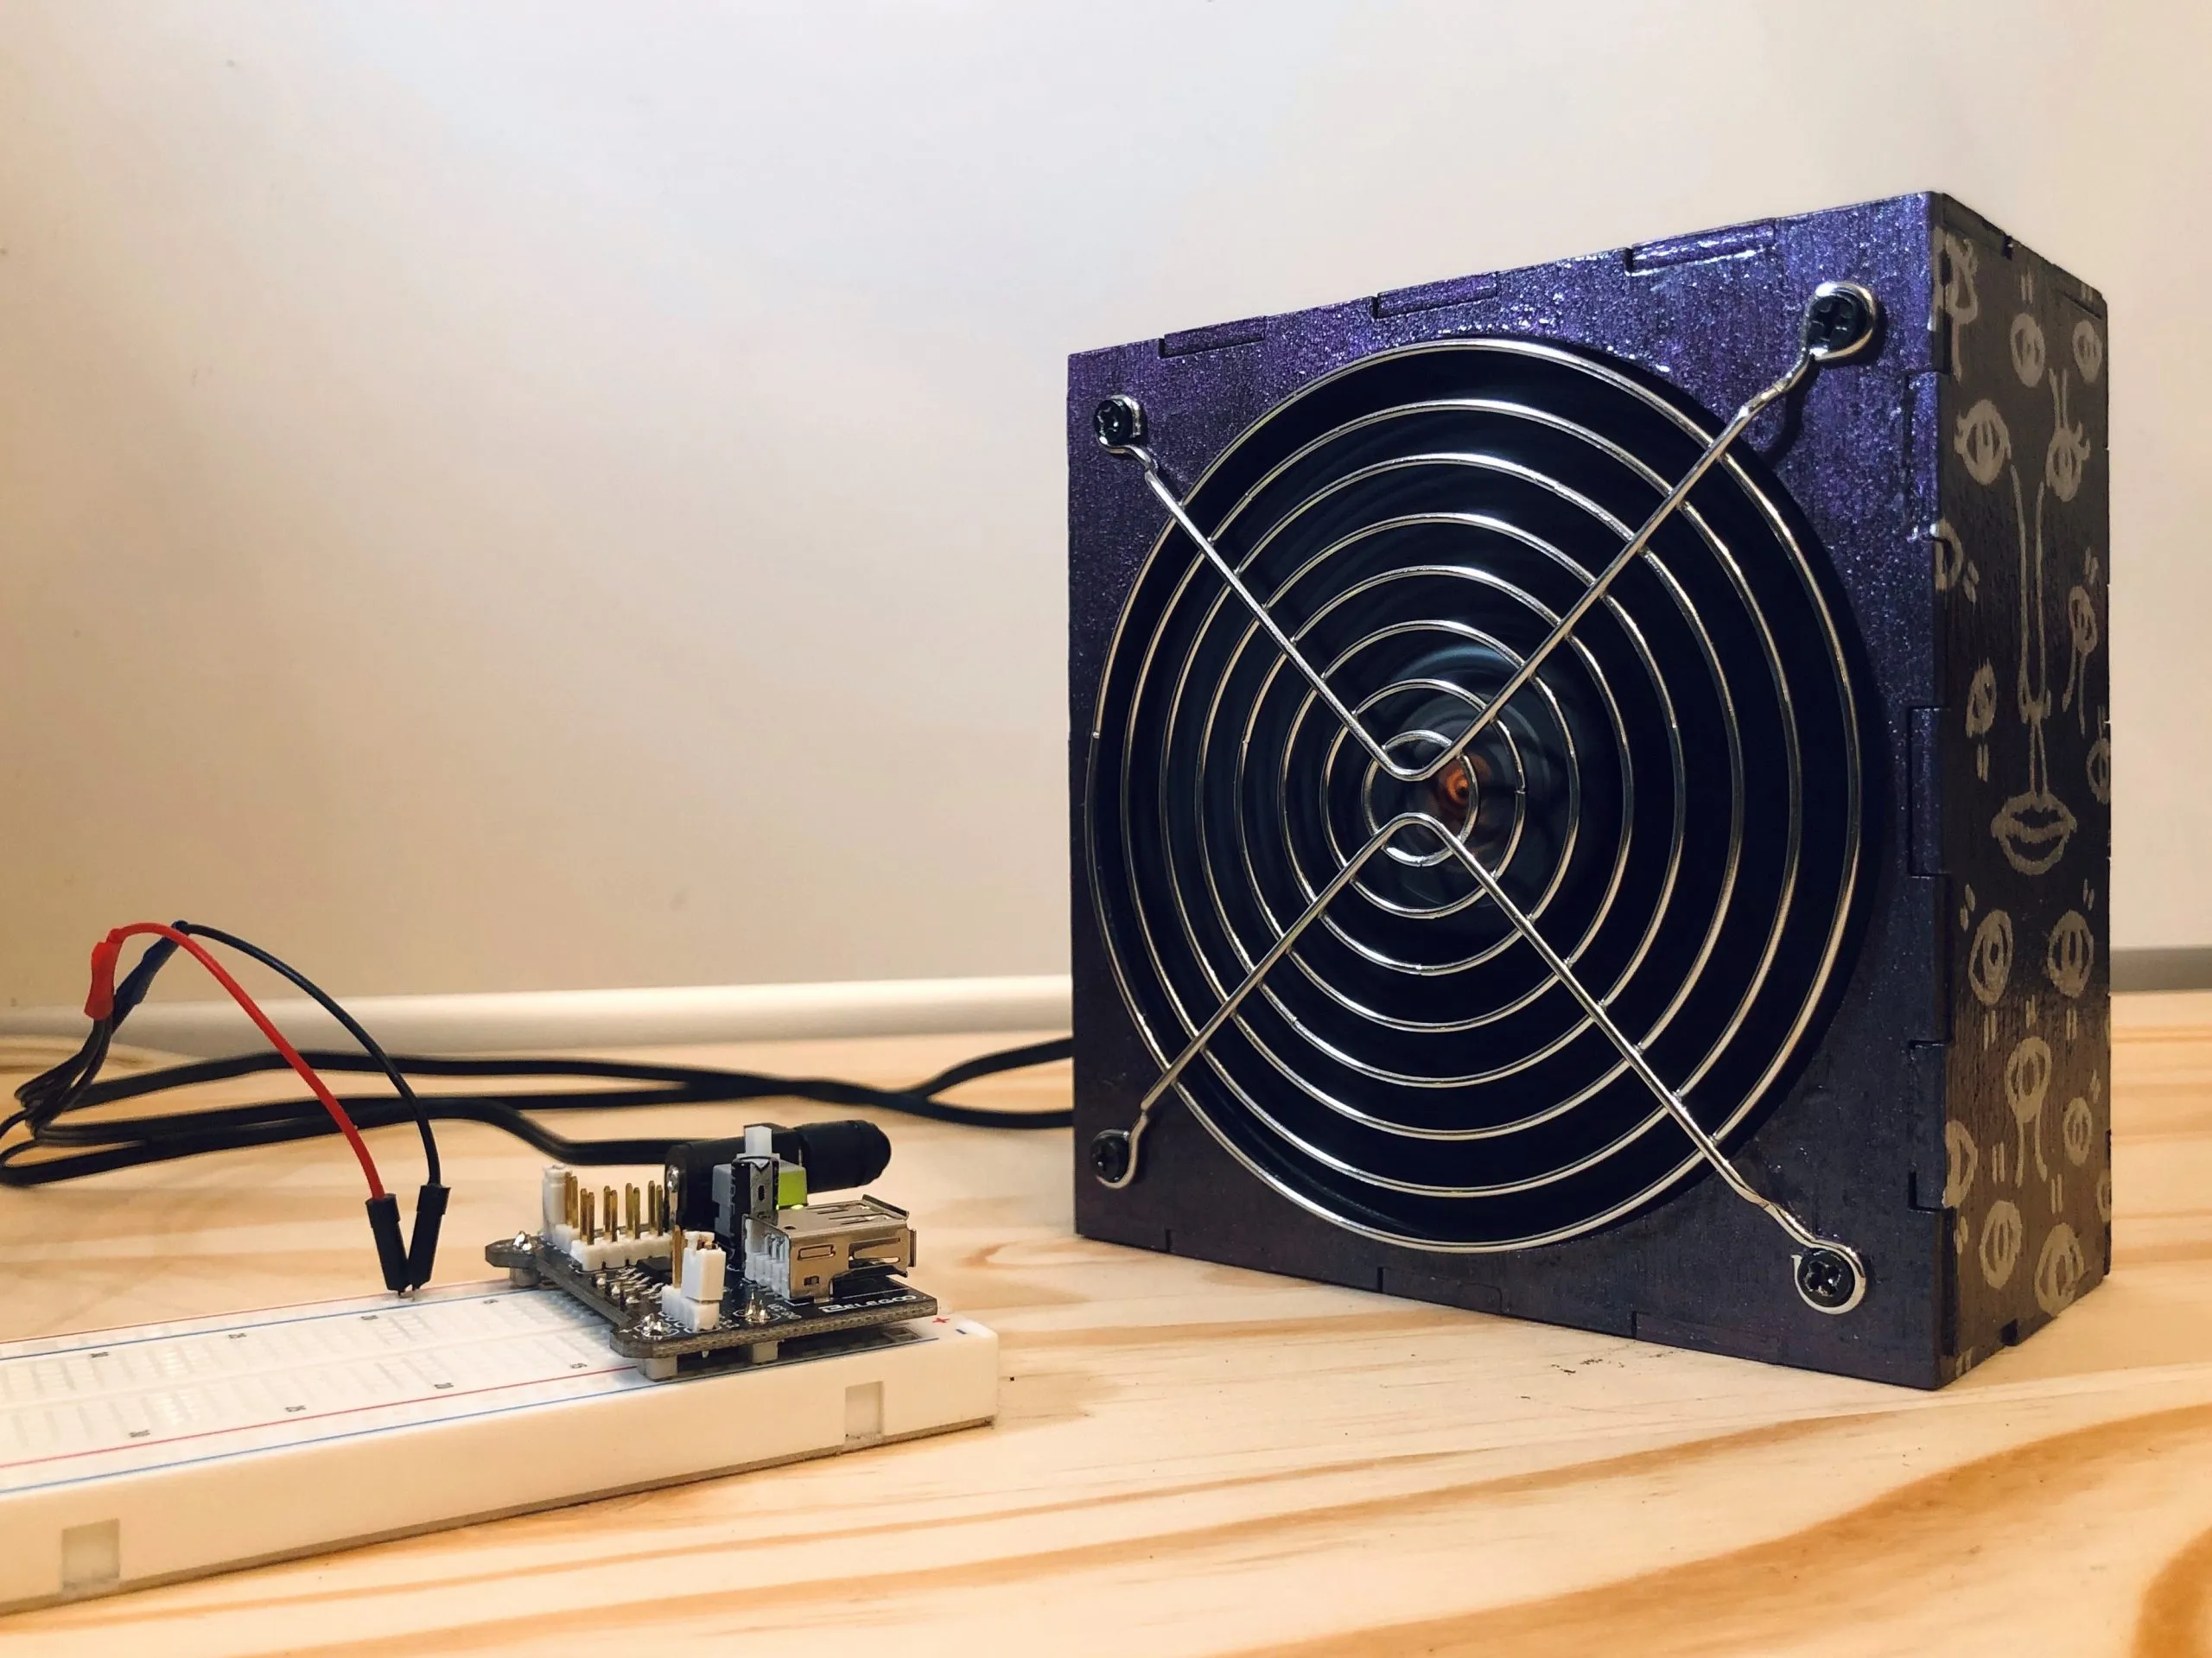
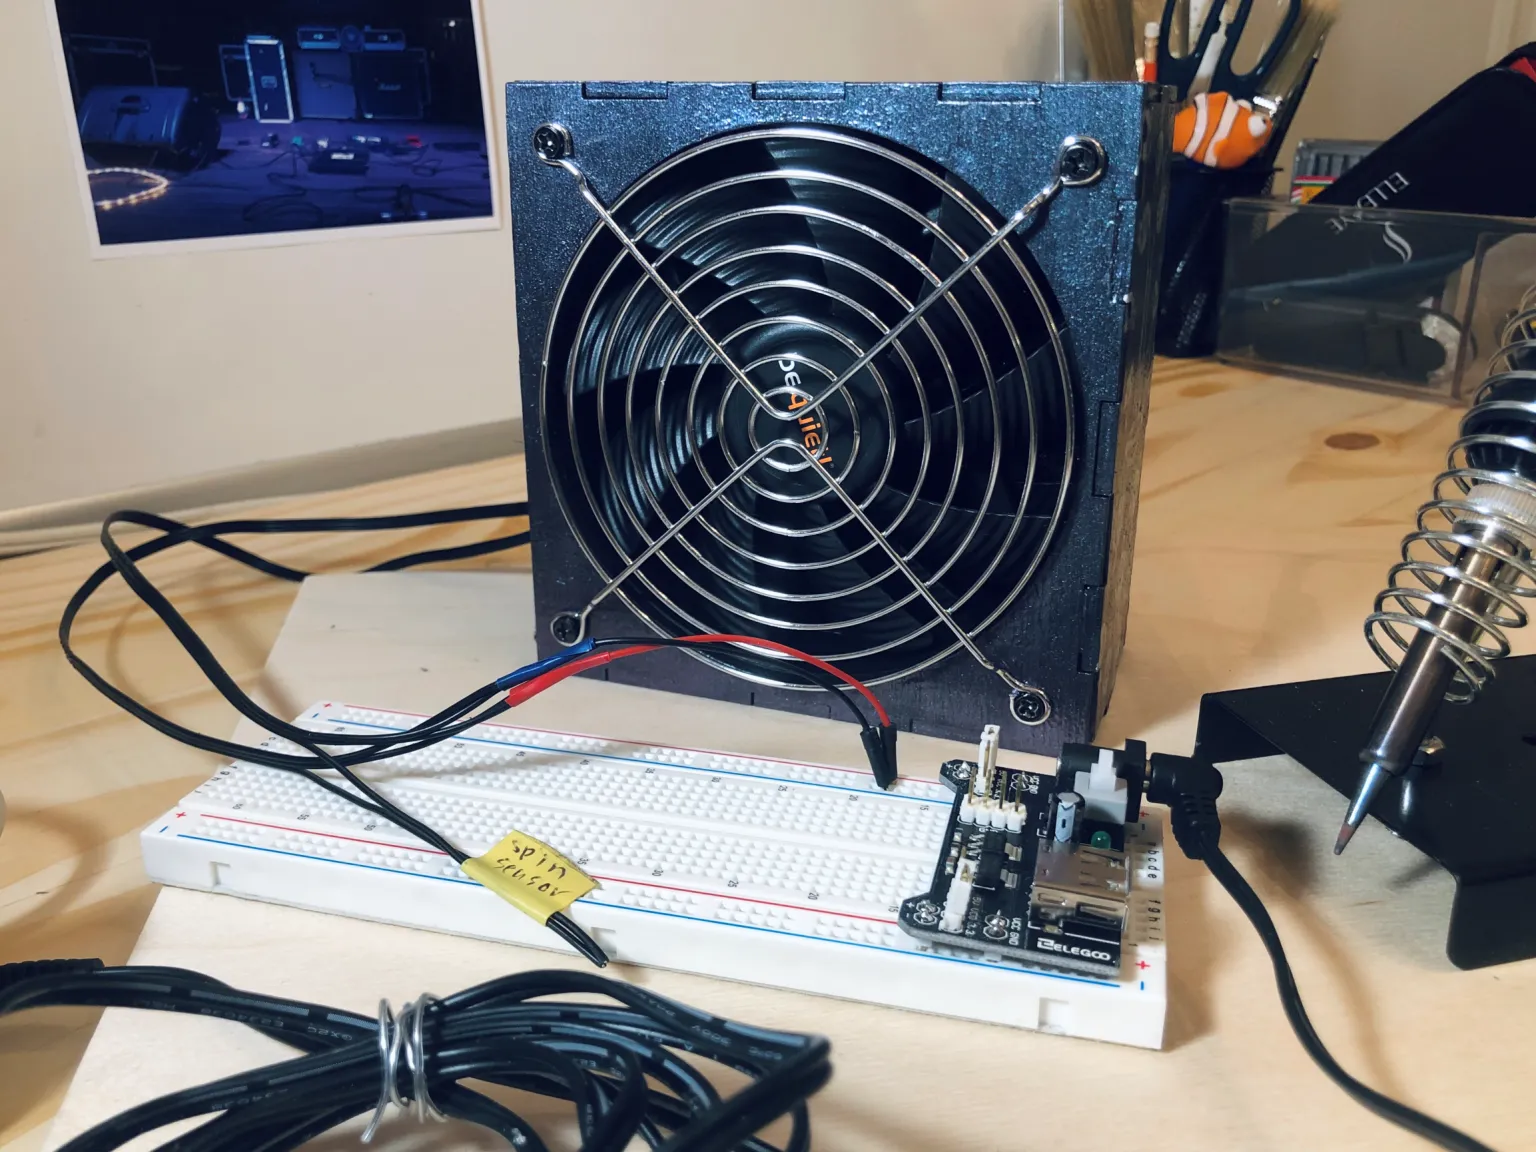
As you can see, I cut off the molex connector for each of the fans and hooked the fans’ positive and negative wires up to a 5V output on a 3.3V/5V breadboard power supply module to test that the fans were working. I did not make use of the spin sensor wires for this project.
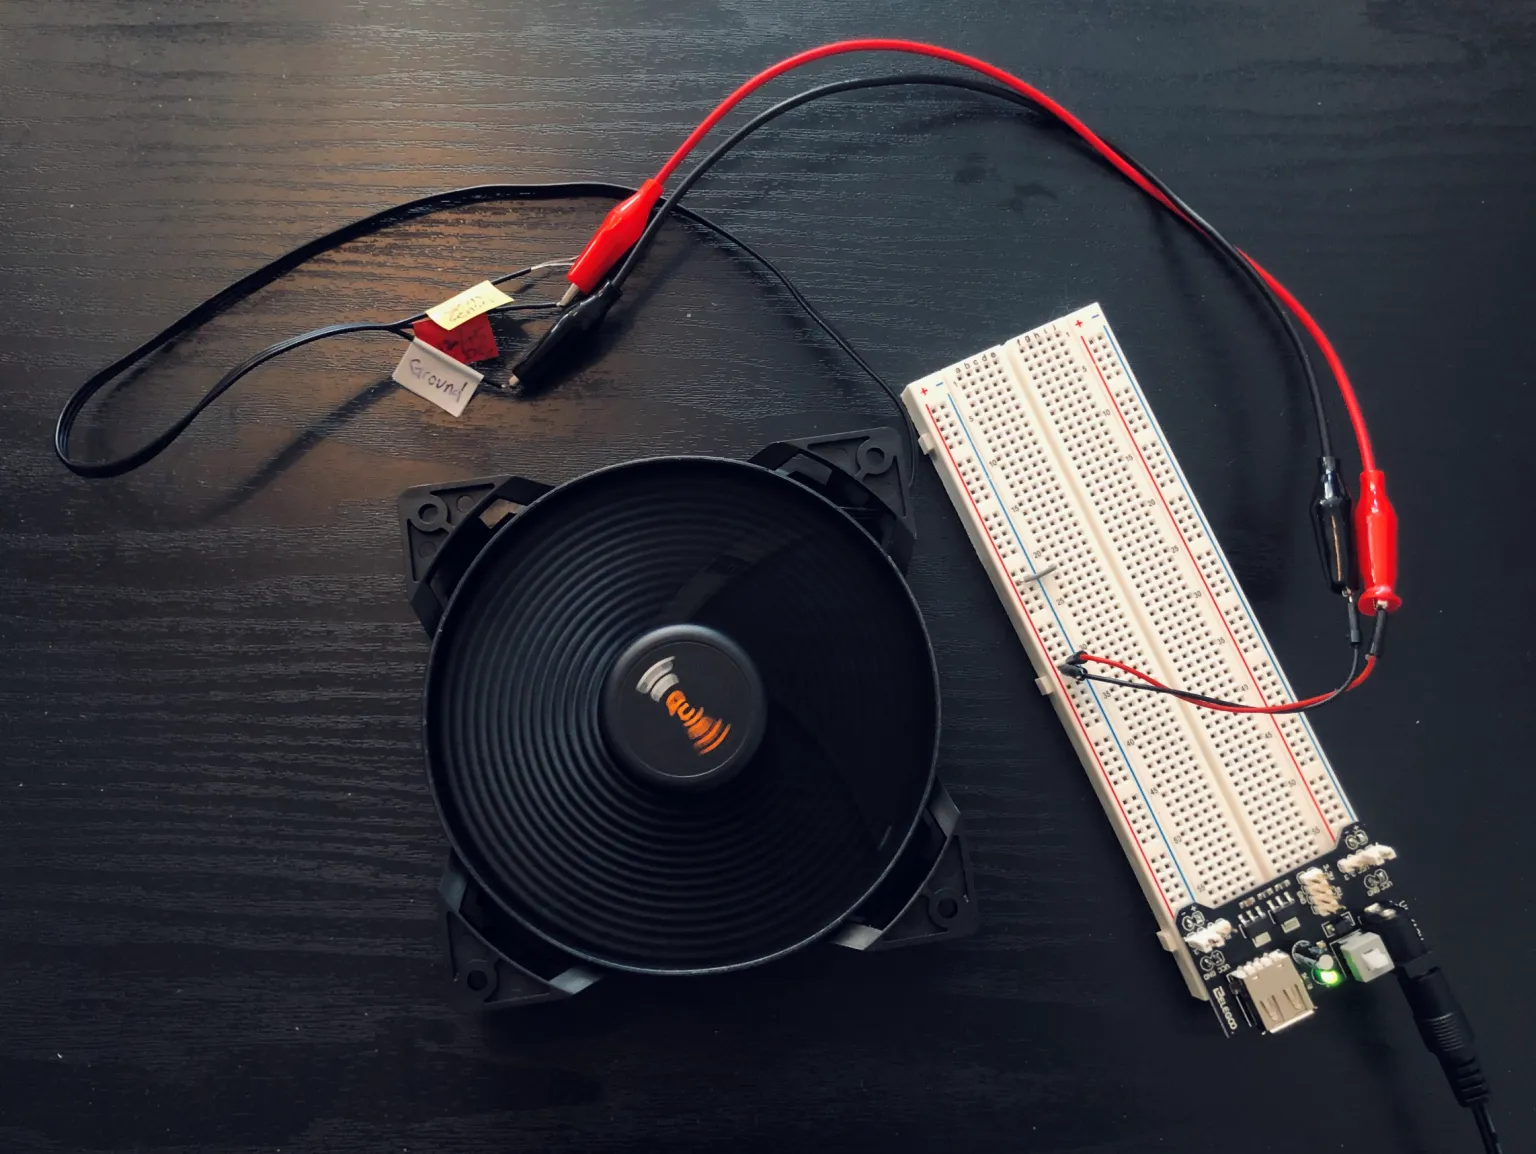
Fortunately I had a spare 12V power supply adapter that was compatible with the 2.5mm jack on the breadboard power supply module. However, I couldn’t find anything at home that I was willing to sacrifice to get a DC jack so I’ve ordered some online and they’re on the way. Connecting to that directly will help deliver more direct current from my 12V power adapter to the fans; I believe the 5V output of the power supply module results in the fans running more slowly and with less airflow. I noticed that with the 3.3V output the fans only budged a little, but did not even spin.
II: Designing & Assembling The Case
The fans needed a case! I got a~1/8 inch thick plywood board and used a laser cutter for this part. In specifying the case’s shape and size I made sure that they accounted for being able to fit two fans and a filter, and plugged those numbers (see below) into makercase.com to generate a tabbed box blueprint. If you’re doing this, remember to measure your fan and set those measurements as “inside” dimensions, and add a little bit of wiggle room.

Box inner dimensions were set to: 4.88 inches (Width) x 4.88 inches (Height) x 2.34 inches (Depth); Open Box. Circle diameter was set to 4.5 inches. Beware that although this is a 120mm fan, 120mm (which converts to 4.724 inches) is the width and height of the fan unit and not the fan circle’s diameter. I measured the fan circle and went with 4.5 inches which gave me an intentionally smaller diameter (by about 1/16 – 2/16 or 0.0625 – 0.125 inches) and allows overlap so that the round edges of the fan would be covered (for aesthetic reasons, but it turned out to be useful and I mention this further down).
I allowed one open side just because at the time I wasn’t sure how I wanted to deal with the wires coming out of the fans and I preferred to have smooth edges than tabs on the open end.
After downloading the blueprint I opened it up in Adobe Illustrator and added the fan circle cutouts.

See the scorch marks? I had to run the cut twice because the first round didn’t fully get through the wood. Afterwards, I used Gorilla Wood Glue to glue the wooden sides together, and used twist ties to secure the stack of two fans and filter sheet.
At this point I was glad that I had cut a smaller circle in the case that overlapped with the fan’s circumference/round edge. It turned out that the added static pressure from the filter resulted in a small amount of air getting forced back around to the front and through the gap between the front fan and the case. This was taken care of by securing the front fan flat against the case when I screwed in the metal grill.
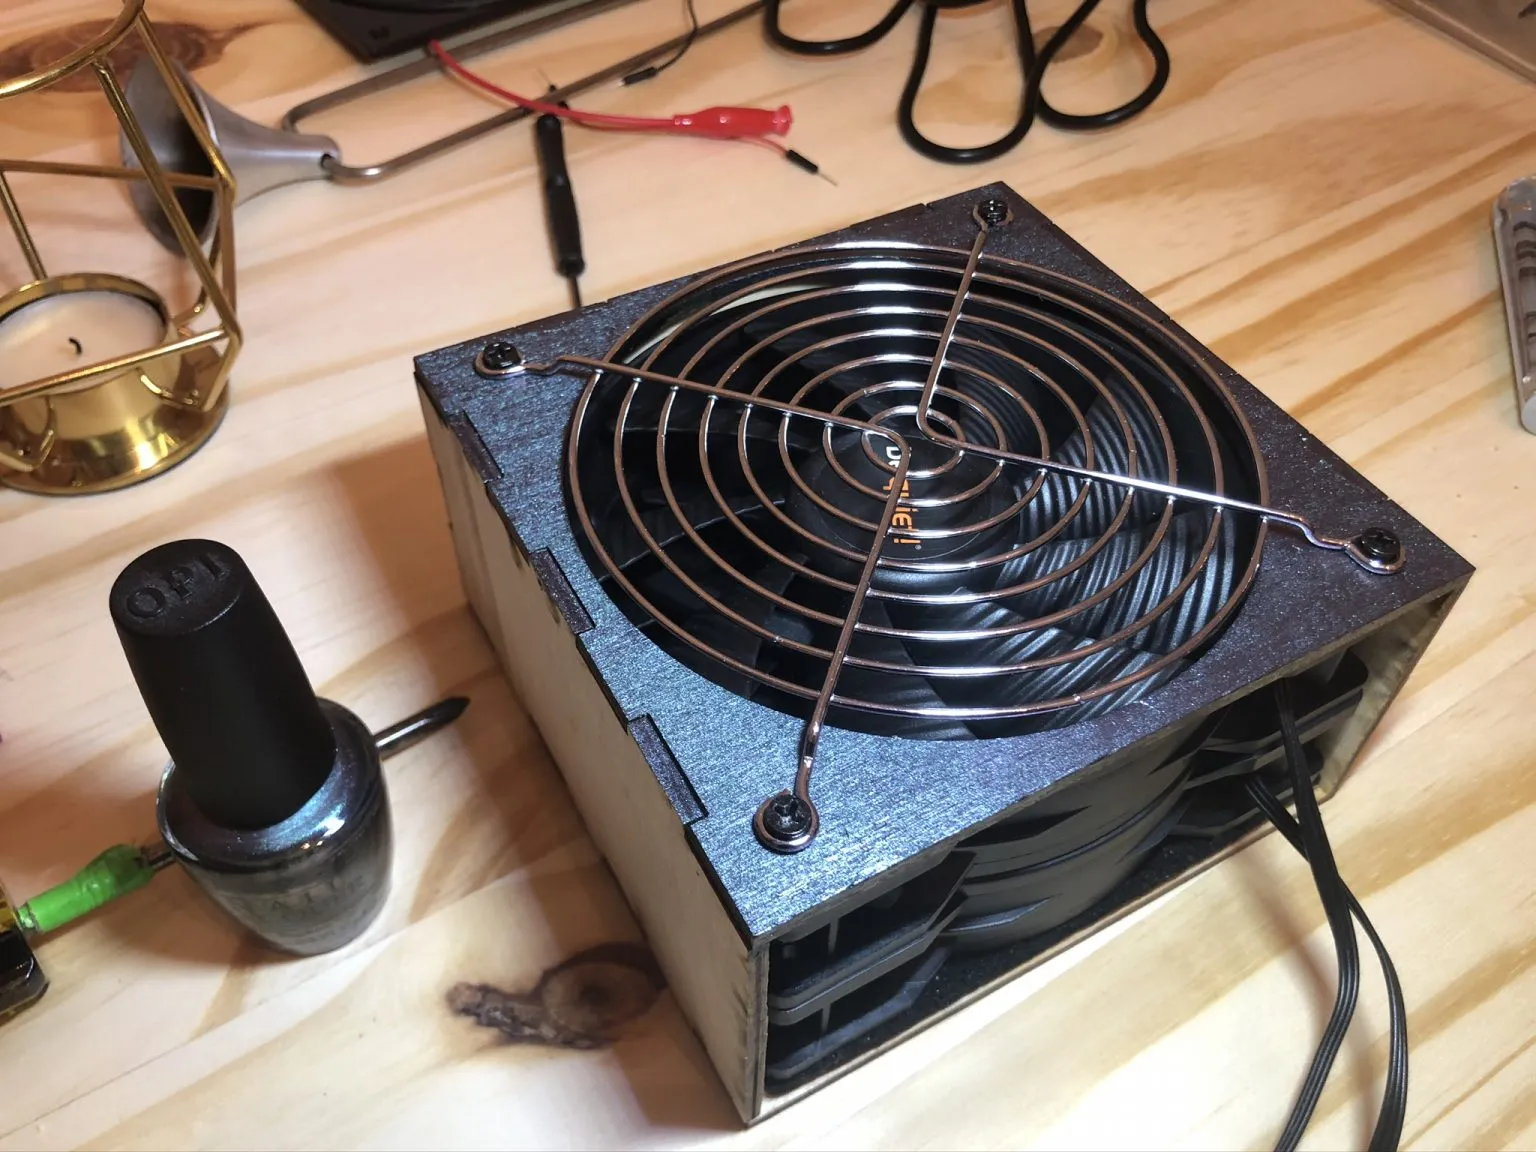
I skipped out on including the fan grill fixture screw holes in my laser cut because I was unsure about determining the correct positioning to match the holes on the corners of the fans inside the case. I basically had one shot with limited time and plywood before the workshop closed for the night (and for the coming month due to temporary business shutdowns because of the recent Coronavirus stay-at-home-order that was issued by our mayor earlier that day). At home I eyeballed the hole placements with a dremel and drilled the holes in myself to get everything lined up.
III: Painting The Case
I wanted to give the case some colour to cover up the burn discolorations on the wood. Since I was out of acrylic paint and wasn’t feeling up for a midnight trip to the store, I tried out some of my Forest Green Noodler’s fountain pen ink to stain one of the faces of the box using a watercolour brush. It looked quite nice, but I started to worry that the ink might rub off and stain other things. So, I dug out some old iridescent-metallic nail polish (OPI NL F56) — I like that one because it looks steel grey/blue, green, turquoise, or purple depending on how the light hits it.
In hindsight, I really should have sanded the plywood before painting it despite it appearing to be quite smooth already. Applying the nail polish showed me just how lumpy and not-smooth it was. My attempt to sand the nail polish layer resulted in an ugly dull look that I had to paint over to fix. The texture isn’t a big deal though, I’m ok with this.
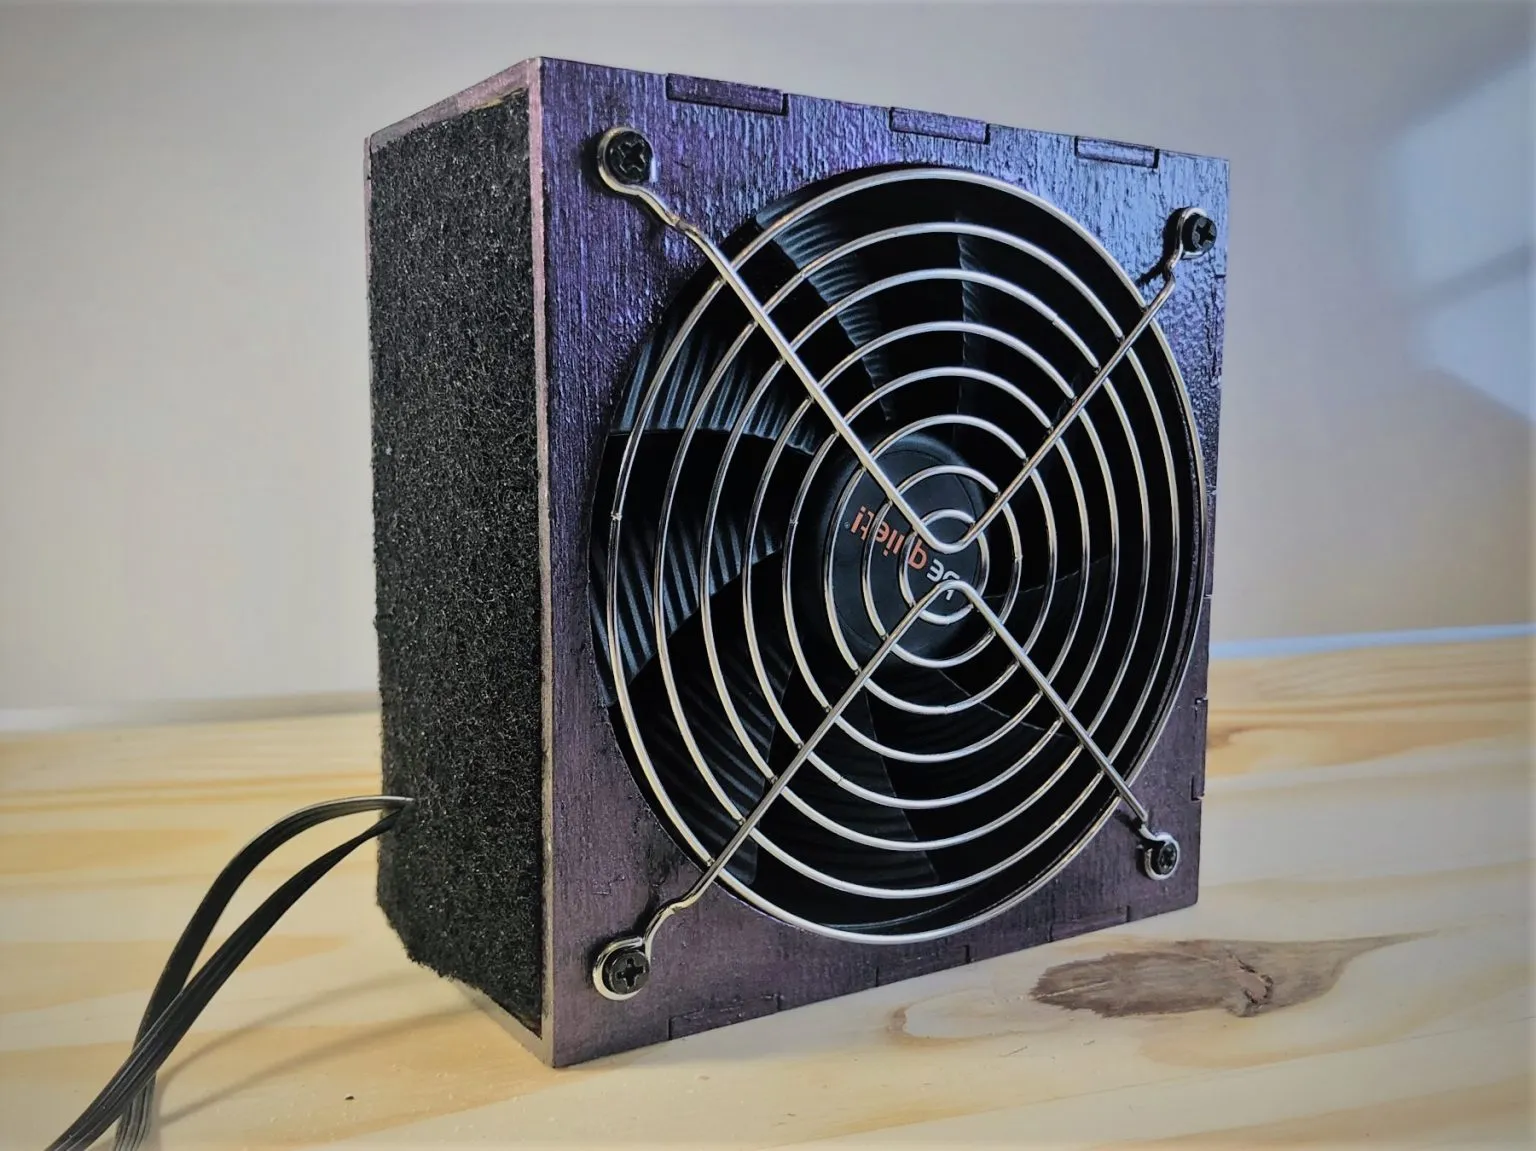
IV: Finishing Touches
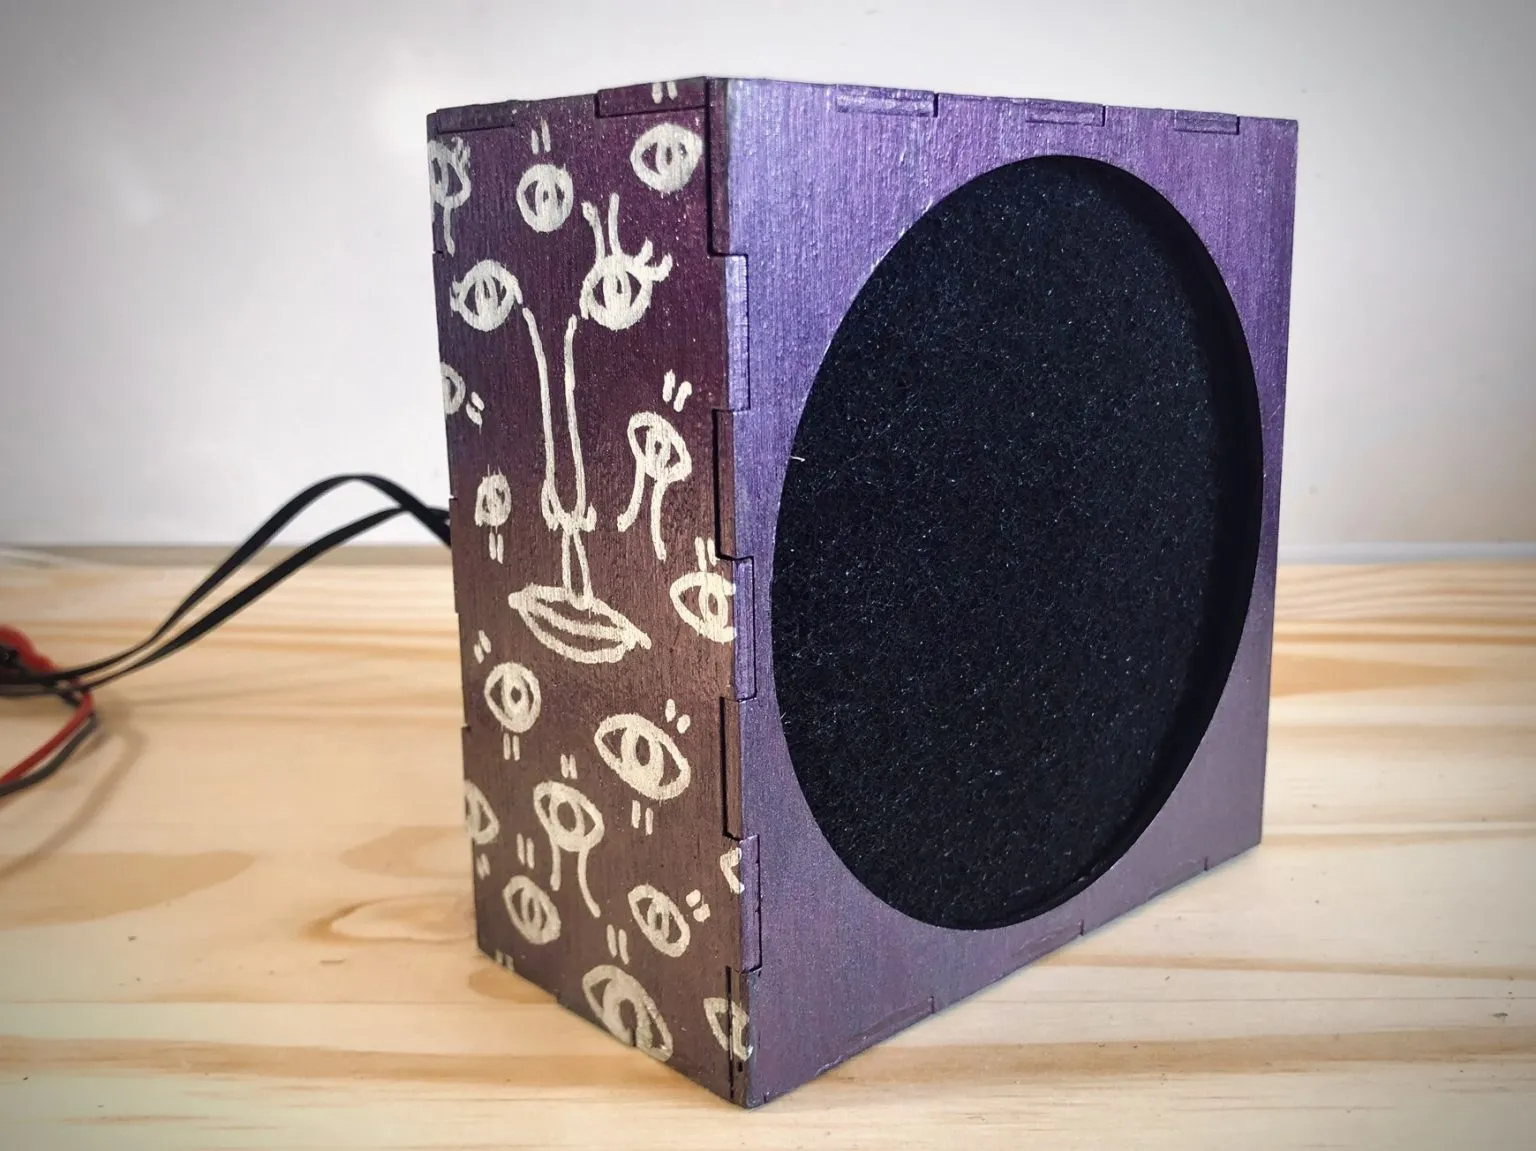
The nail polish dried up nicely and I scribbled on some drawings on with a silver marker. After the marker dried, I added a layer of shellac (a type of wood finish) on the outer sides of the case for good measure and let that dry and harden overnight.
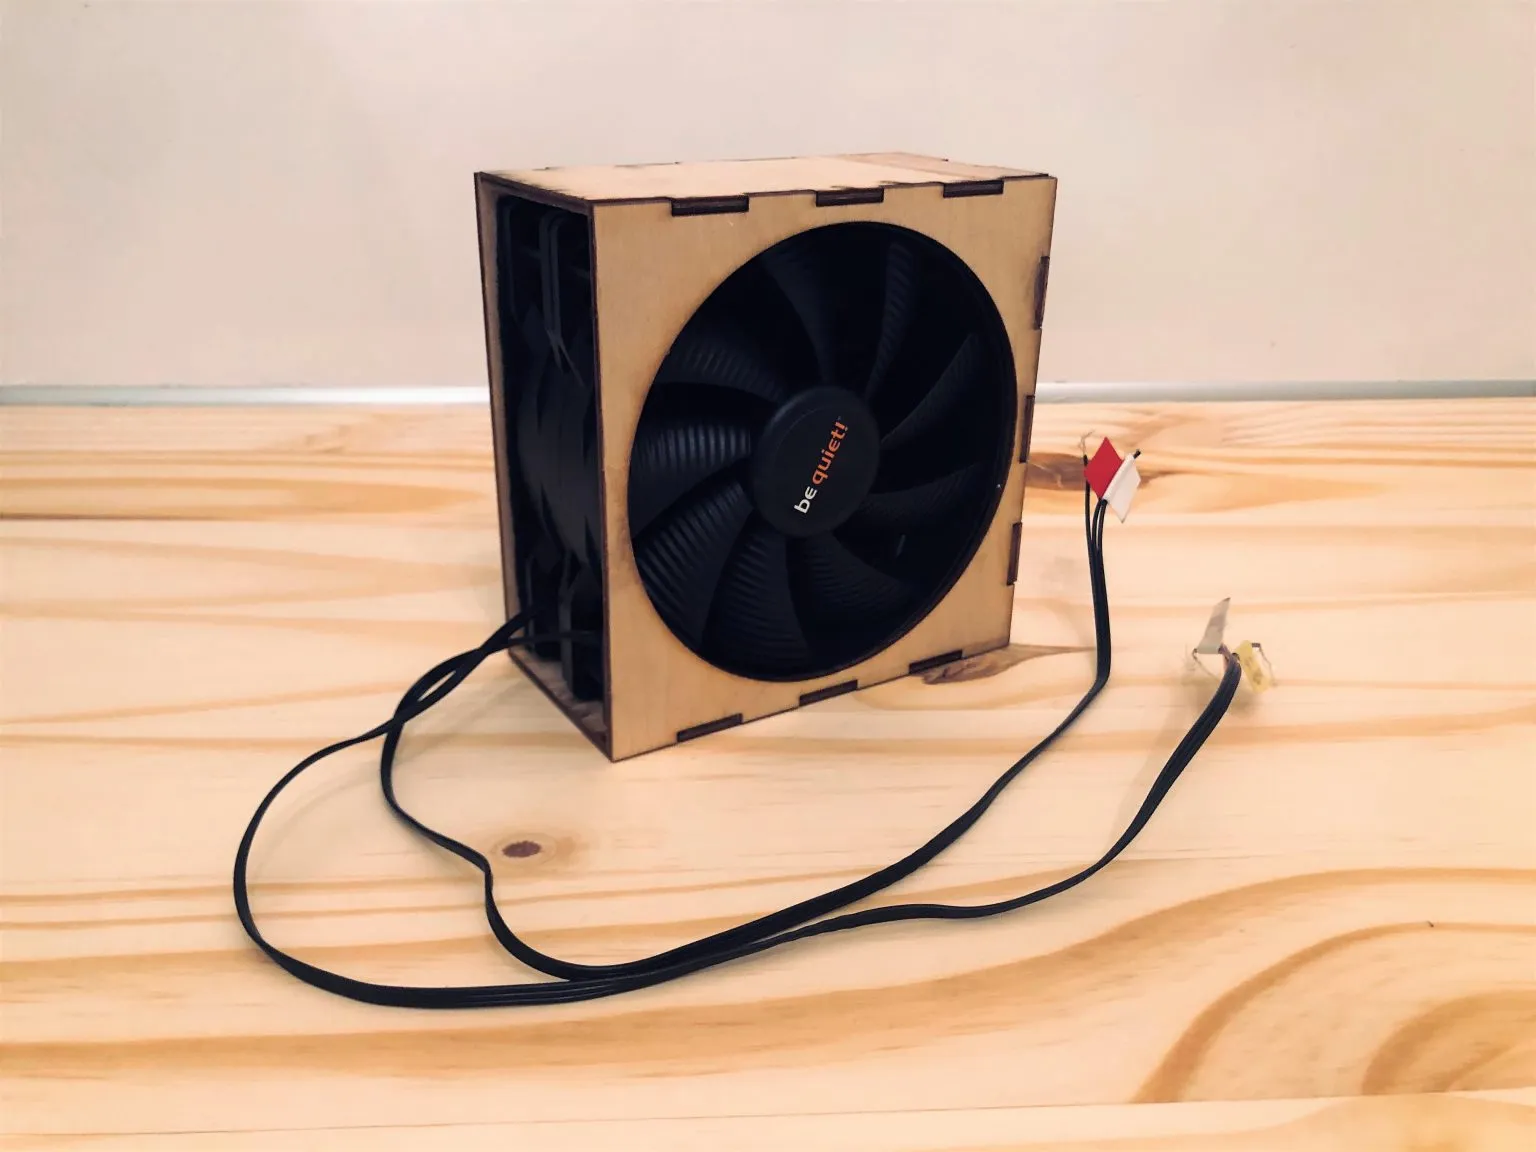
Leaving one side of the box/case open worked out — I simply put an additonal piece of filter there and made a small cut to let the wires through:
Here’s a view from the side and back after applying shellac (now it’s shinier, and tougher!):
For this fume extractor I chose space efficiency and portability over giving each fan its own dedicated power supply. I got rid of the alligator clip test leads, twisted the two fans’ matching wires together and soldered them to breadboard jumper wires. I covered the soldering points by wrapping the wires with electrical tape (heat shrink tubes would have been nice).
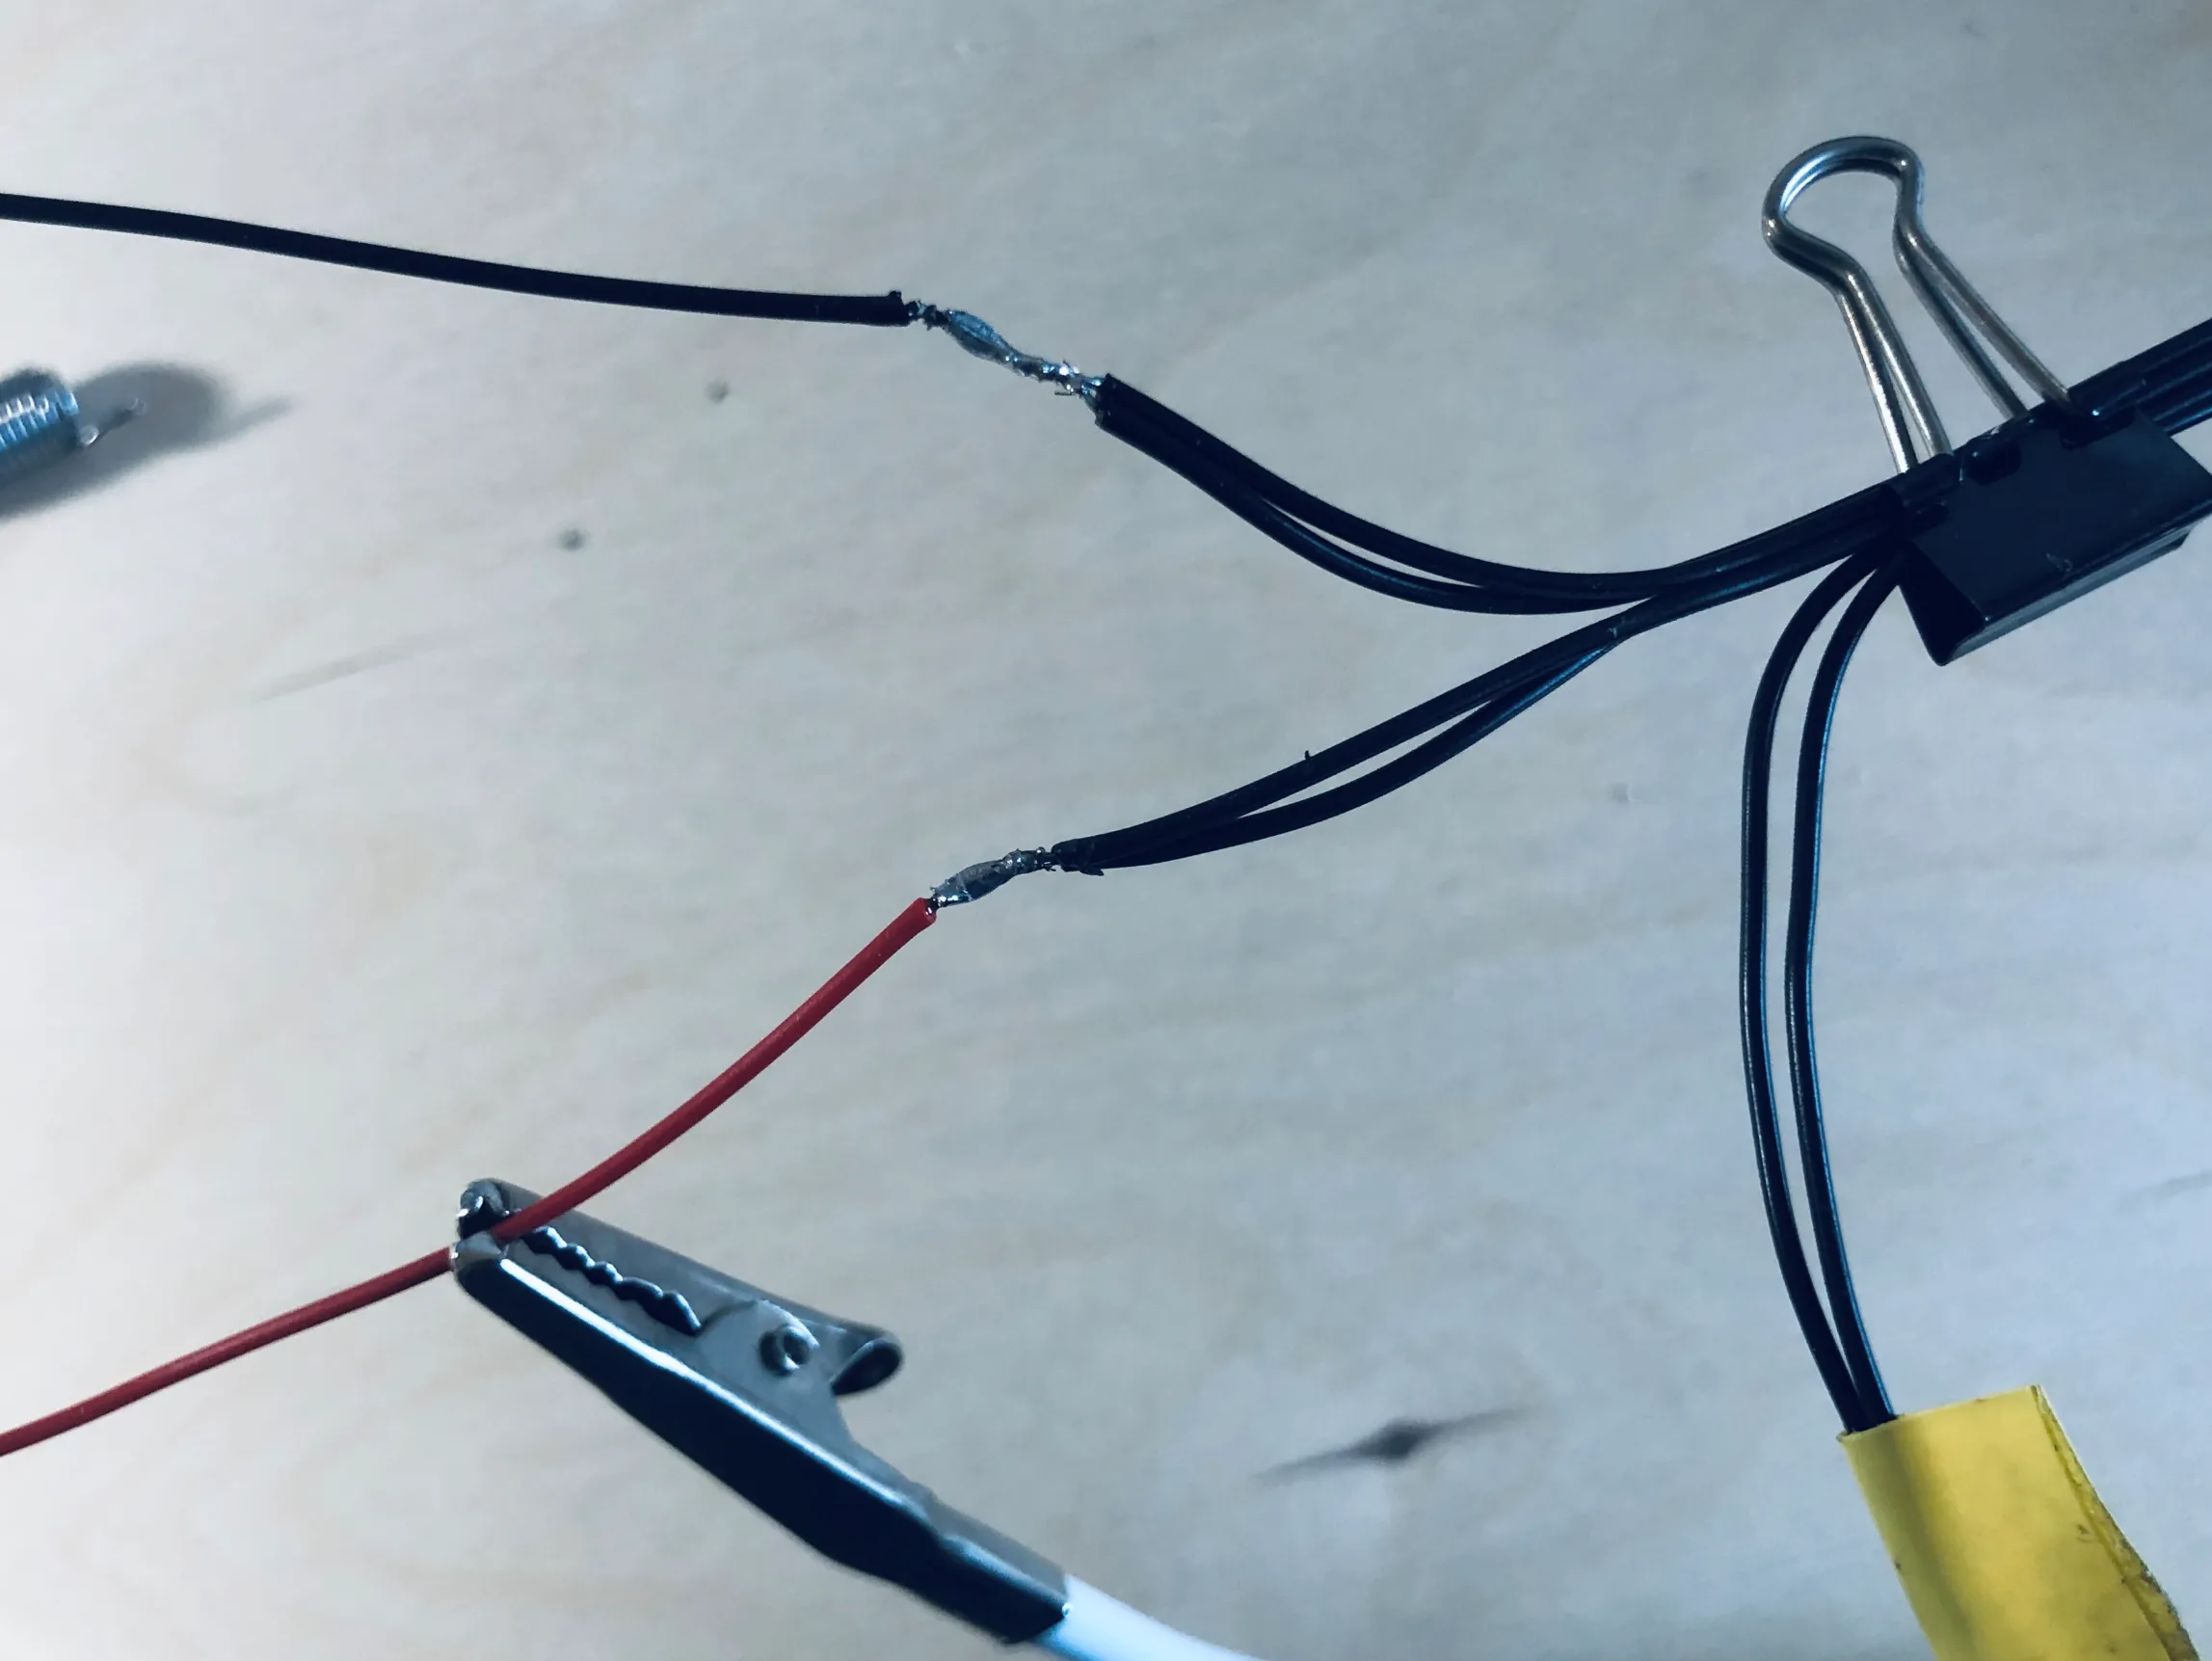
It was a rather knobbly job, but I know I’ll get better at soldering with more practice.
And voila! This will do until I can phase out the breadboard.
Closing Thoughts
I’m fairly satisfied with how this turned out. I wanted something quick and working and now I have it. Not bad for a first iteration and it feels sturdy.
For next steps I will replace the breadboard power supply module and breadboard with a DC jack for something more permanent, add an on/off switch, and maybe an indicator light (all of which the breadboard power supply module provides). I’m on the fence still about whether I want to have the switch on the fume extractor unit or somewhere down the cable; I’ll have to use this thing for a little while to get a feel of what I’ll prefer.
Another feature I am considering is adding a stand for the case so I can swivel and angle the fan and/or adjust its height.
Finding simple ways to optimise the unit’s airflow / efficiency would be nice as well. I could get a different, stronger fan and not have to use two, but I am currently content with the ones I have since they are extremely quiet.
Resources
Materials & Products I Used
Below is a list of the various items I have mentioned (non-affiliate links):
- PC cooling fans: be quiet! Pure Wings 2 120mm
- Grill: Evercool 120mm Chrome Finger Guard
- Grill #2: SilverStone 120mm Fan Filter (did not use for this project)
- Carbon filter: Germ Guardian Replacement Filter B
- Power supply module: JBtek Breadboard Power Supply Module 3.3V/5V
- 2.5mm DC jack: ebay
- Nail polish: OPI NL F56 (discontinued but can be found on ebay)
- Wood finish: Zinsser Bulls Eye Clear Shellac
- Brush for wood finish: Purdy Syntox Series Flat Trim Paint Brush, 2 inch
- Denatured alcohol: Jasco Denatured Alcohol
Helpful Links
- Youtube: How to build a fume extractor #1 of 3 by ElectronFun.com
- YouTube: DIY Desktop Fume Fan – The Learning Circuit by element14presents
- YouTube: Build a Solder Fume Extractor by DroneBot Workshop
- Instructables: Fume Extractor by badarsworkshop
- Instructables: $5 Powerful DIY Fume Extractor by geekrex
- Various articles and forum posts about fan placements: [x][x][x][x][x]
- YouTube: Easy to Apply Shellac Finish | Wood Finishing Tutorial by GenealogistWoodworker