[Electronics] Circuit-Bending a My Music Maker Keyboard
Meet my first circuit bent (modified) toy instrument, a My Music Maker Keyboard.
What is circuit bending?
It’s taking something electronic – usually some kind of toy, instrument, or piece of equipment – and modifying its circuit so that it behaves differently from how it normally should.
I’ve customised a children’s toy keyboard (My Music Maker Keyboard made by DSI Toys, Inc.) so that now it can make a wider variety of sounds and noise effects, and can also be plugged into regular speakers or a guitar amplifier.
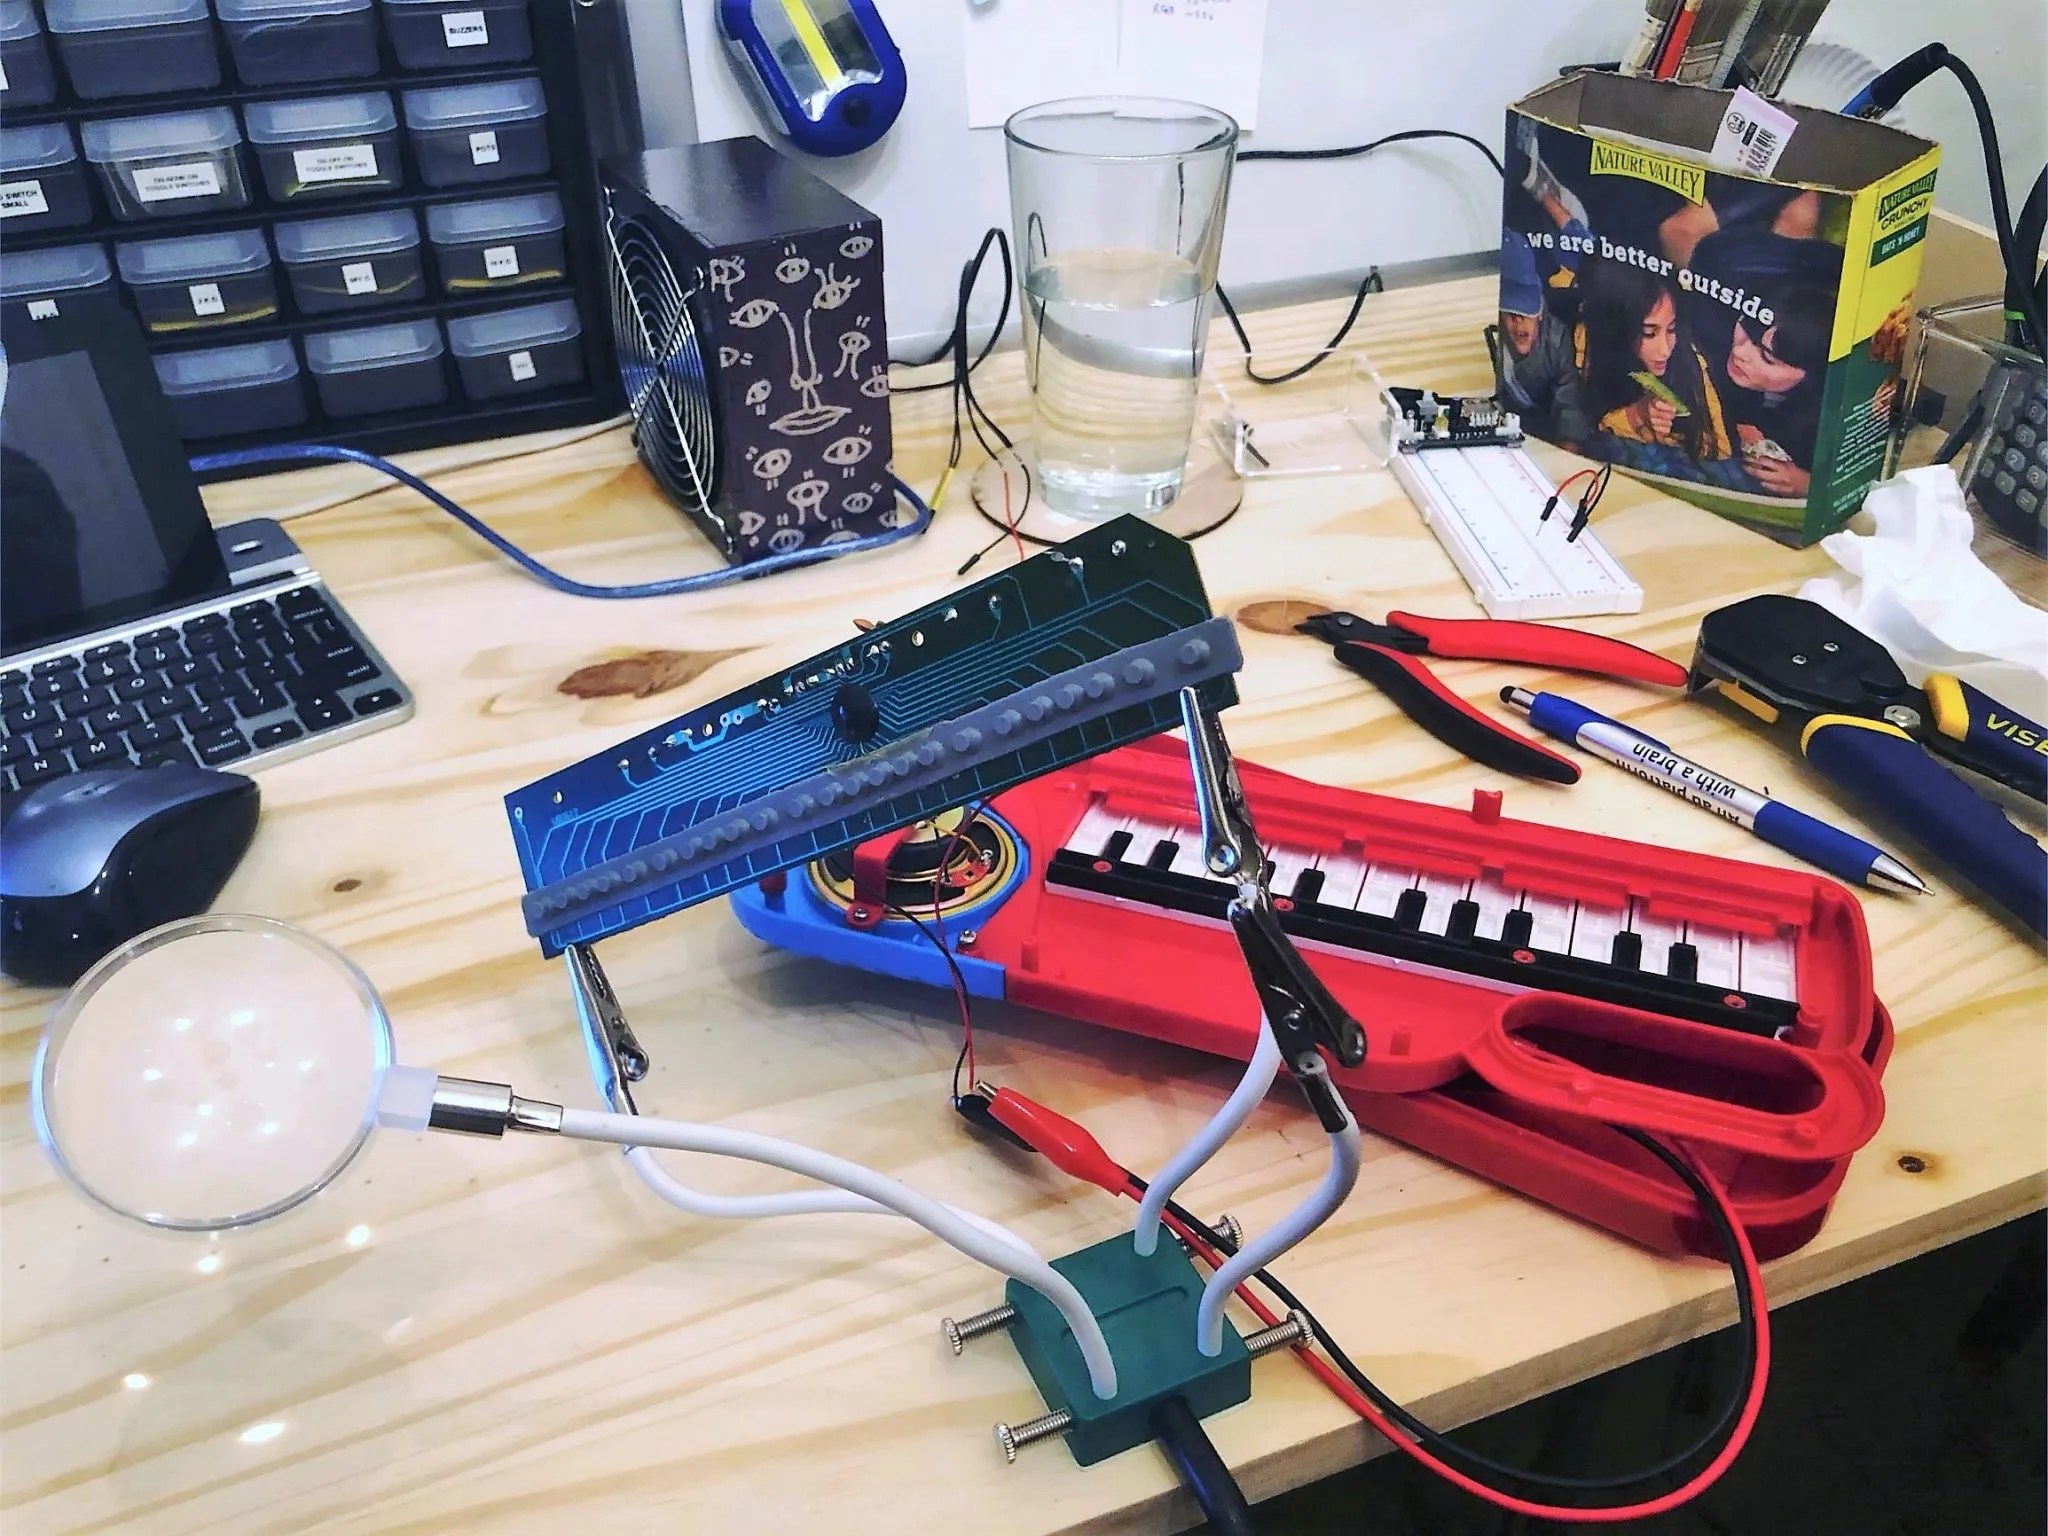
I got this keyboard months ago and opened it up for some bending using test leads, but I only started really working towards a finished product about a week and a half ago. Lately it has been a lot easier for me to get rolling on my DIY projects because earlier this month I finally put together a dedicated workspace and have gathered a bunch of parts and better tools. And I know how to solder now! Pretty happy about that, and I’m especially excited to share this with y’all.
Before modifications:
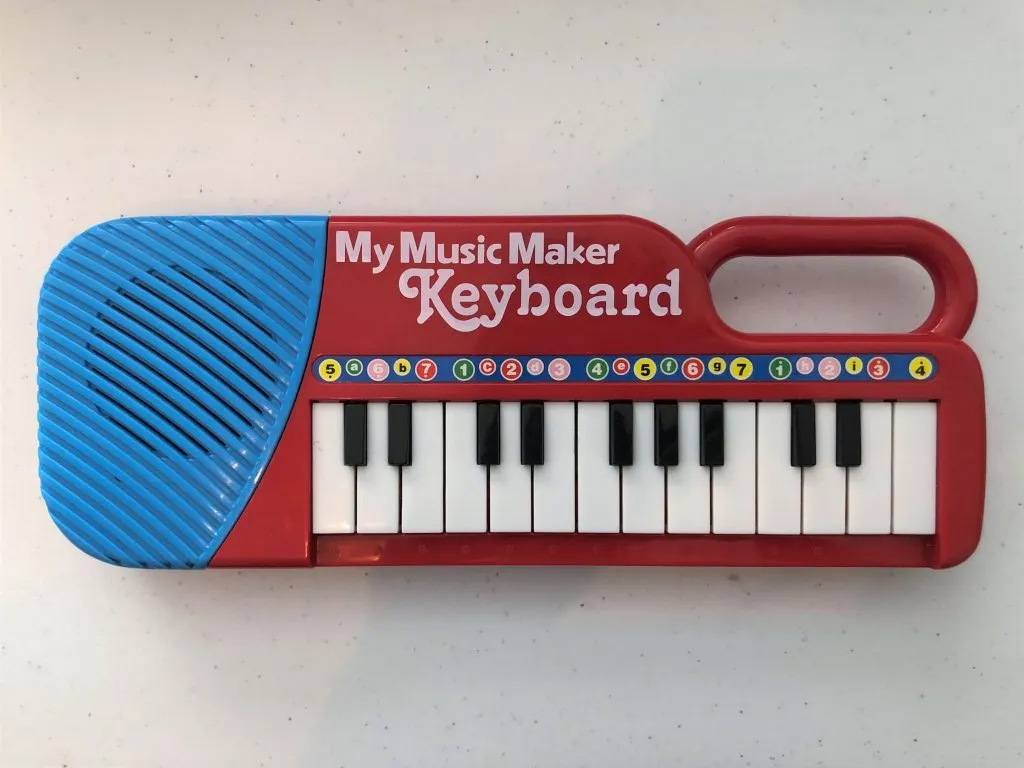
As a side-note: This toy comes with one speaker, and is monophonic (as opposed to polyphonic) which means it only supports playing one note (key press) at a time.
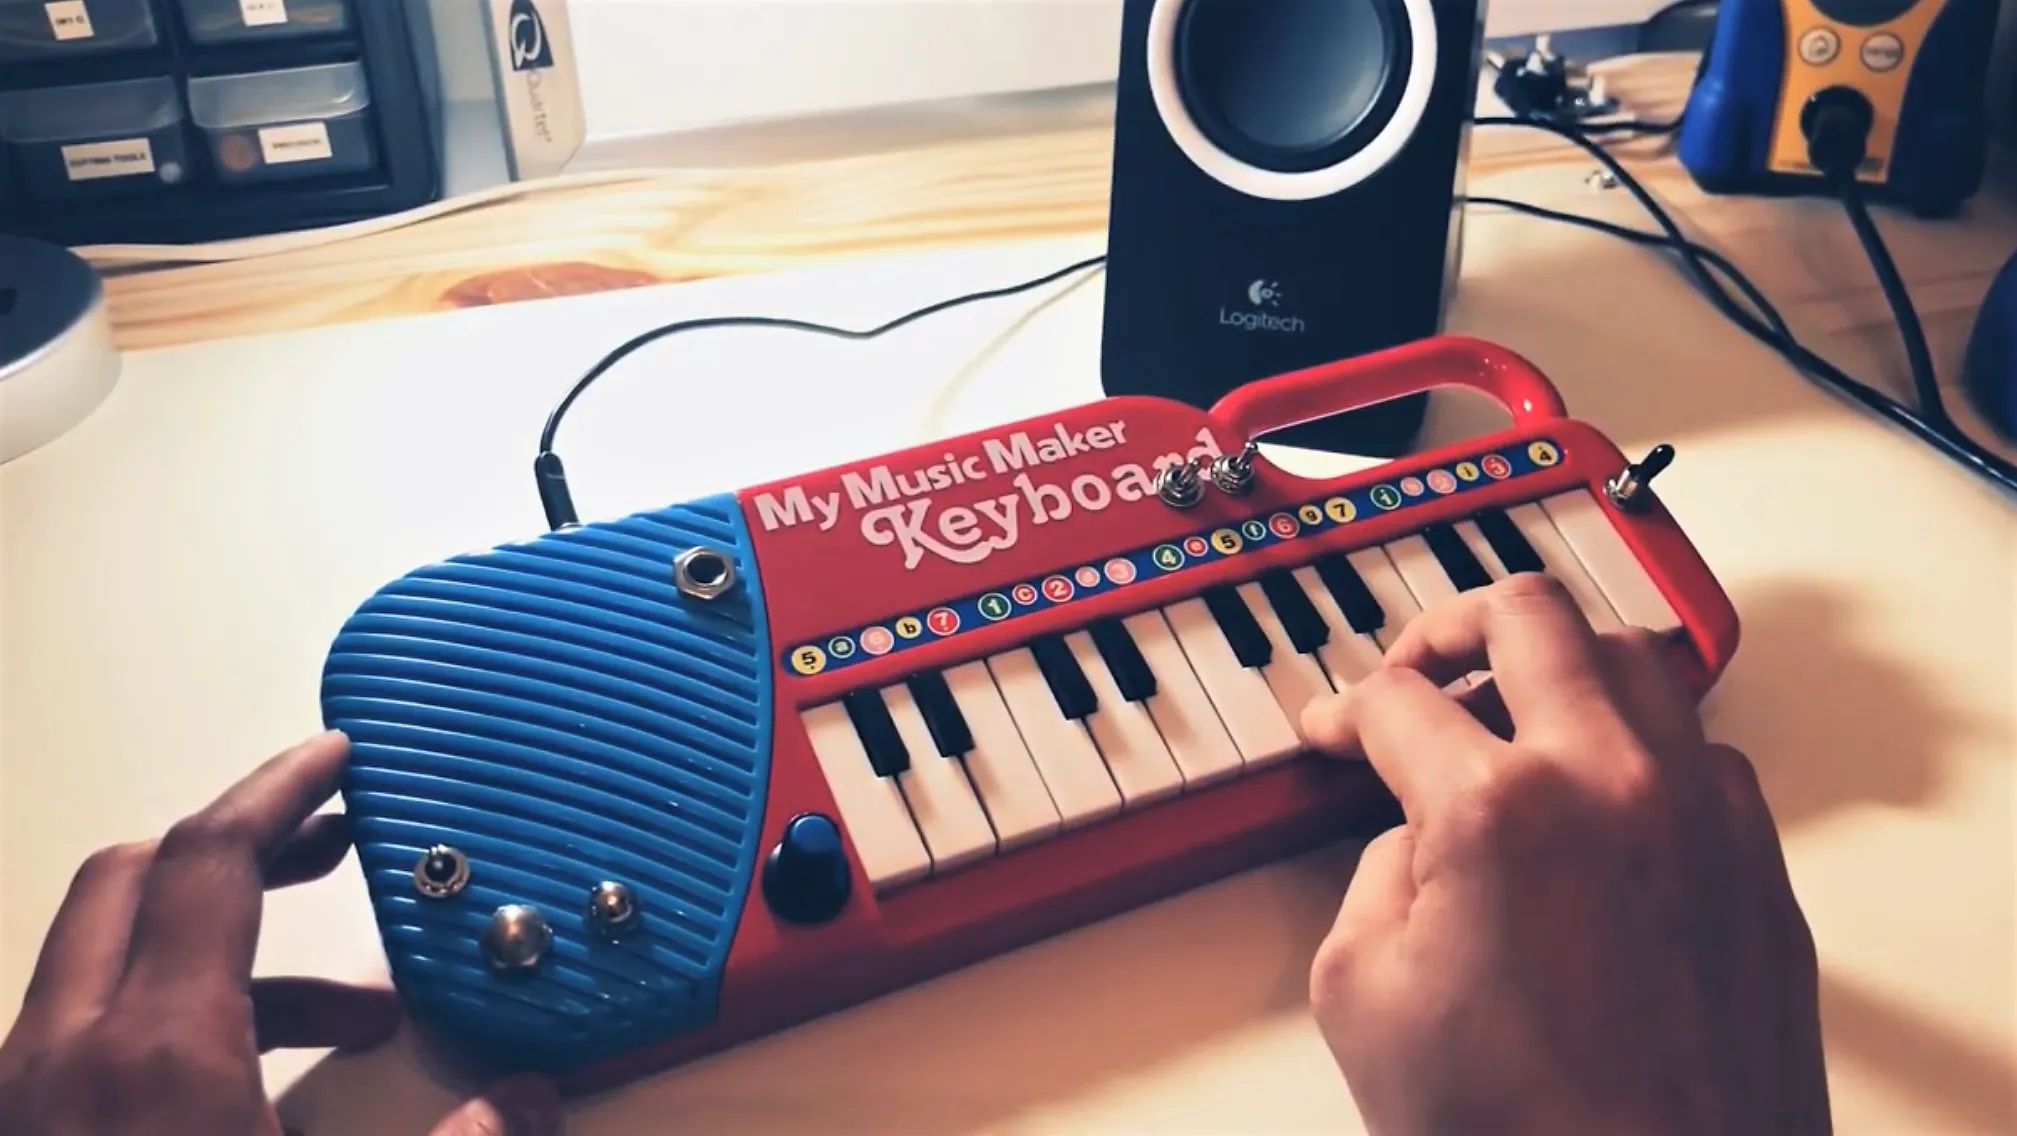
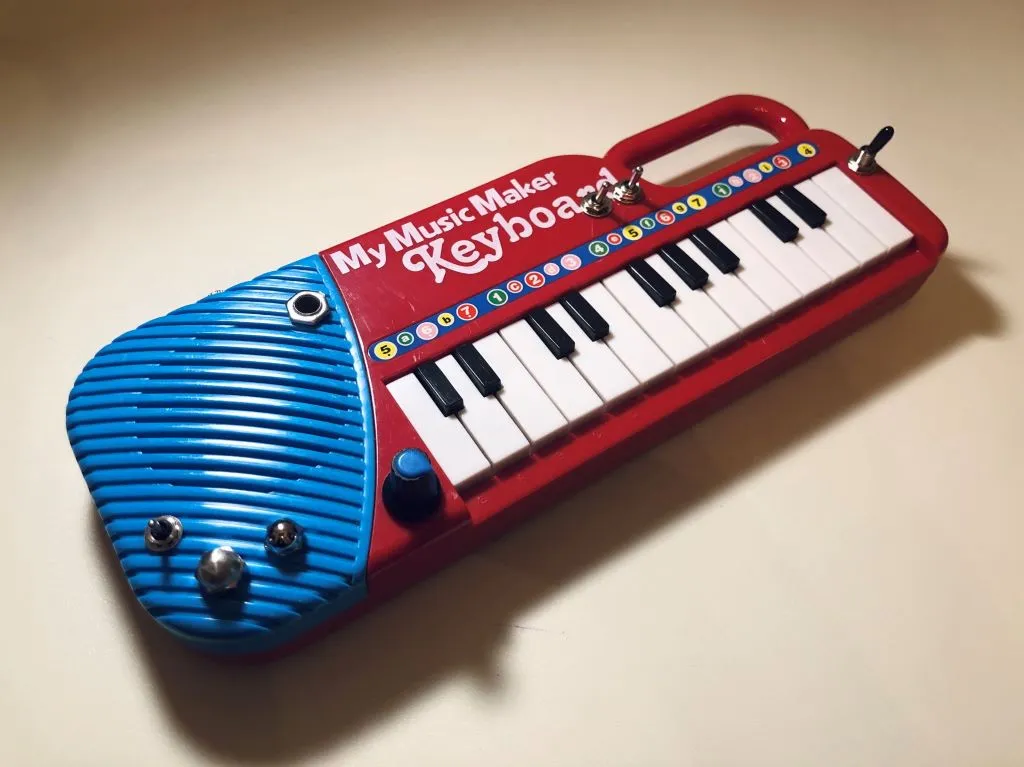
After modifications
Features I Added
- 2 pitch body contacts (touching them meddles with the pitch)
- Knob for lowering the pitch
- Toggle for enabling/disabling the pitch lowering knob
- Sustain toggle
- 2 miscellaneous sound effect toggles
- 1/8″ (aka 3.5mm) audio jack – closed circuit
- 1/4″ audio jack – open circuit
My self-imposed guidelines for whether I was going to wire up an effect I found were that it needed to be fairly reliable and predictable and even if it wasn’t, it needed to work reasonably well with other effects in different toggle modes. There were a couple of interesting effects which I discovered while experimenting that did not make the final cut because they were unpredictable and sometimes crashed the board so badly that I thought I broke it for real.
Demo Reels
Demo (short)
Cycling through different modes, starting with the original sound. The intention of this video is to showcase the main features in ~1 minute so I may have missed some combinations. As you can see I am using the 3.5mm line out to external speakers:
Re: Sustain Toggle: In most modes, the toggle on the far right being switched on allows notes to be held longer (0:38 and 0:51 in the video above) which is why I refer to it as the sustain toggle, but there is one mode (0:43 in the video above) where it produces a squelchy ringing feature instead, so maybe it would be more accurate to call what it does pseudo-sustain.
Demo (more features)
Here’s a similar, slightly longer video with more takes on the features I wired up:
Fun With Amplifiers
Plugging in my Fender Mustang III guitar amp for the first time was one of my favourite moments in all of this. It’s amazing how a bigger/better speaker really opens up the sound. Not only that, throwing in some preset effects from the amp made the keyboard sound almost like a completely different instrument!
Audio Out
I installed two different audio jacks (1/8″ (3.5mm) and 1/4″) instead of one because I wanted to have this keyboard work with regular speakers and be able to connect/record to my computer, as well as work with my guitar amp or pedals without needing an adapter. I’m going to learn how to use Ableton so I can start making my own tunes and play horrible covers of my favourite songs.
The 1/8″ (3.5mm) jack comes out the back on the upper left half of the keyboard’s plastic shell, and I would have preferred that the 1/4″ jack do the same but it was too large to fit nicely so I positioned it on the face of the keyboard instead.
A large portion of my time was spent on figuring out how to get audio out working properly and thinking about what I wanted to accomplish — such as identifying which types of audio plugs my speakers and amp used, which jacks they were compatible with, the difference between open and closed circuit jacks, whether or not I wanted to support mono sound coming out of more than one external speaker, what I’d need if I wanted to record directly to my computer, why connecting my keyboard directly to my speakers was only producing clicks (hint: impedance), why I wasn’t getting any sound…and so on. There is still so much to learn regarding audio and audio equipment!
In the guitar amp demo you can hear the built-in speaker’s higher pitch notes playing alongside the organ-like sound effects from the amp. Unlike the 1/8″ audio jack, plugging into the 1/4″ jack does not cut the signal to the keyboard’s speaker. All of the 1/4″ jacks I have are open circuit and thus do not inherently have switching capability. I may replace it at some point; alternatively I could just add an on/off toggle to make cutting the signal to the internal speaker optional — after playing around for a bit, I’ve found that both outputs (built-in speaker + guitar amp) can sound pretty cool together.
Speaker-mic?!
I had an “it’s a feature, not a bug…” moment while I was trying to set up recording this keyboard through my guitar amplifier into Ableton Live Lite 10. I discovered that with how I have the keyboard wired up, its mini speaker is capable of behaving like a mic by picking up vibrations and transmitting them as part of the input audio. Very interesting. I believe this has to do with the mini speaker not disconnecting when the 1/4″ jack is used, so I should add a switch for that after all!
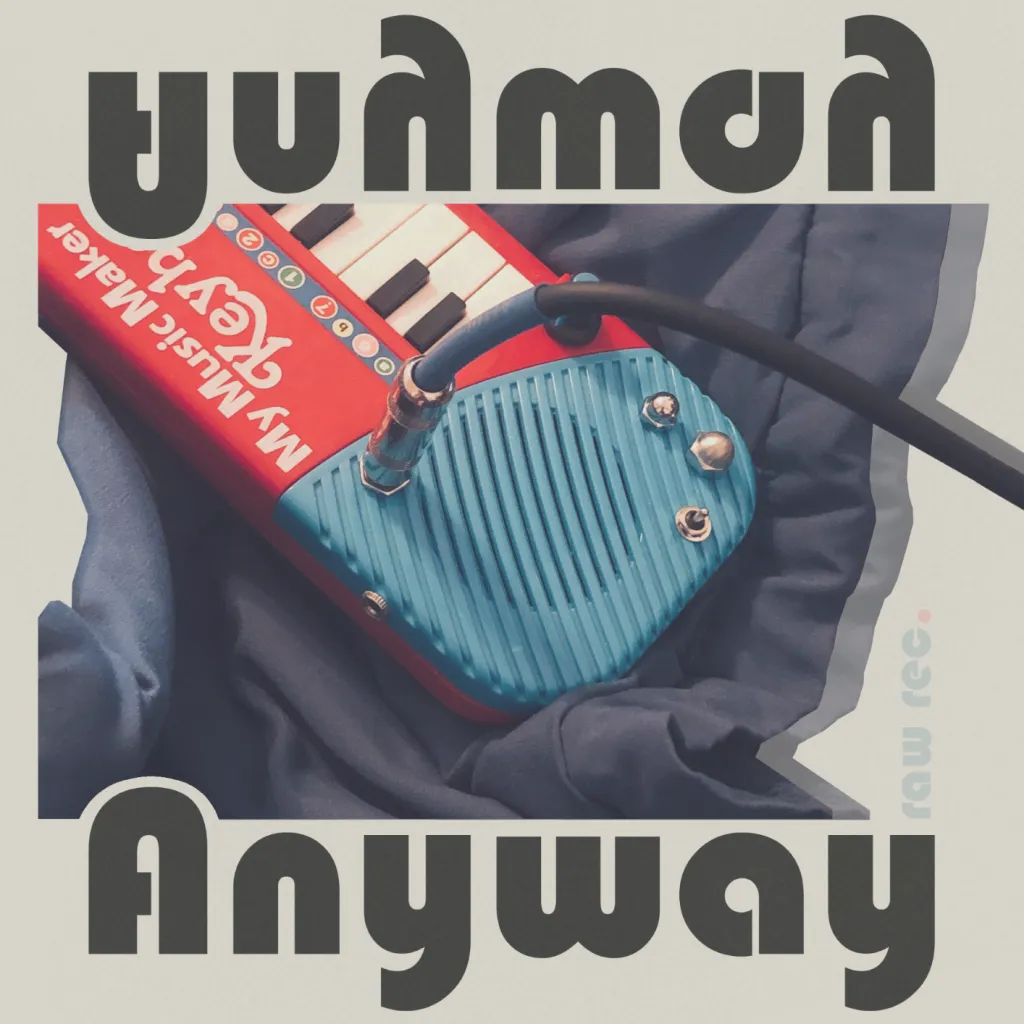
Here is an example recording from me singing directly at the keyboard’s blue speaker grill:
For a bit of fun, I also made the cover art for this clip:
Behind the Scenes
Overall, I’m happy with how this turned out. It has several different effects, everything fit into the case after I was done, and I didn’t accidentally fry the board.
The battery leads were very short. One of the first things I did was extend them so I didn’t need to be so careful about working between the two halves of the keyboard. Eventually I used a 2xAA battery holder so that the the whole thing was more portable and I wouldn’t have to worry about ripping the leads while I was working.
Additional features?
There is a decent amount of space left inside the toy to add one or two more buttons/toggles if desired.
A feature that might be nice to have is a kill switch button (akin to a kill pot in guitars) for a stuttering effect.
Another option is to enable a wider range of pitches: Right now the pitch knob only turns to lower pitches. Not wiring up complete pitch adjustment via the knob just saved me some time. With the keyboard’s notes being quite high to begin with, I decided that being able to hit lower notes was more important to me anyway.
One of the last things I was going to wire up was a general on/off rocker switch for the keyboard itself. I changed my mind and felt alright about skipping out on that for now since the keyboard doesn’t seem to eat up batteries when not in use and I haven’t experienced any crashes with the current set of modifications.